Hardwood floor refinishing GTA — dustless process, stain selection, and what to expect
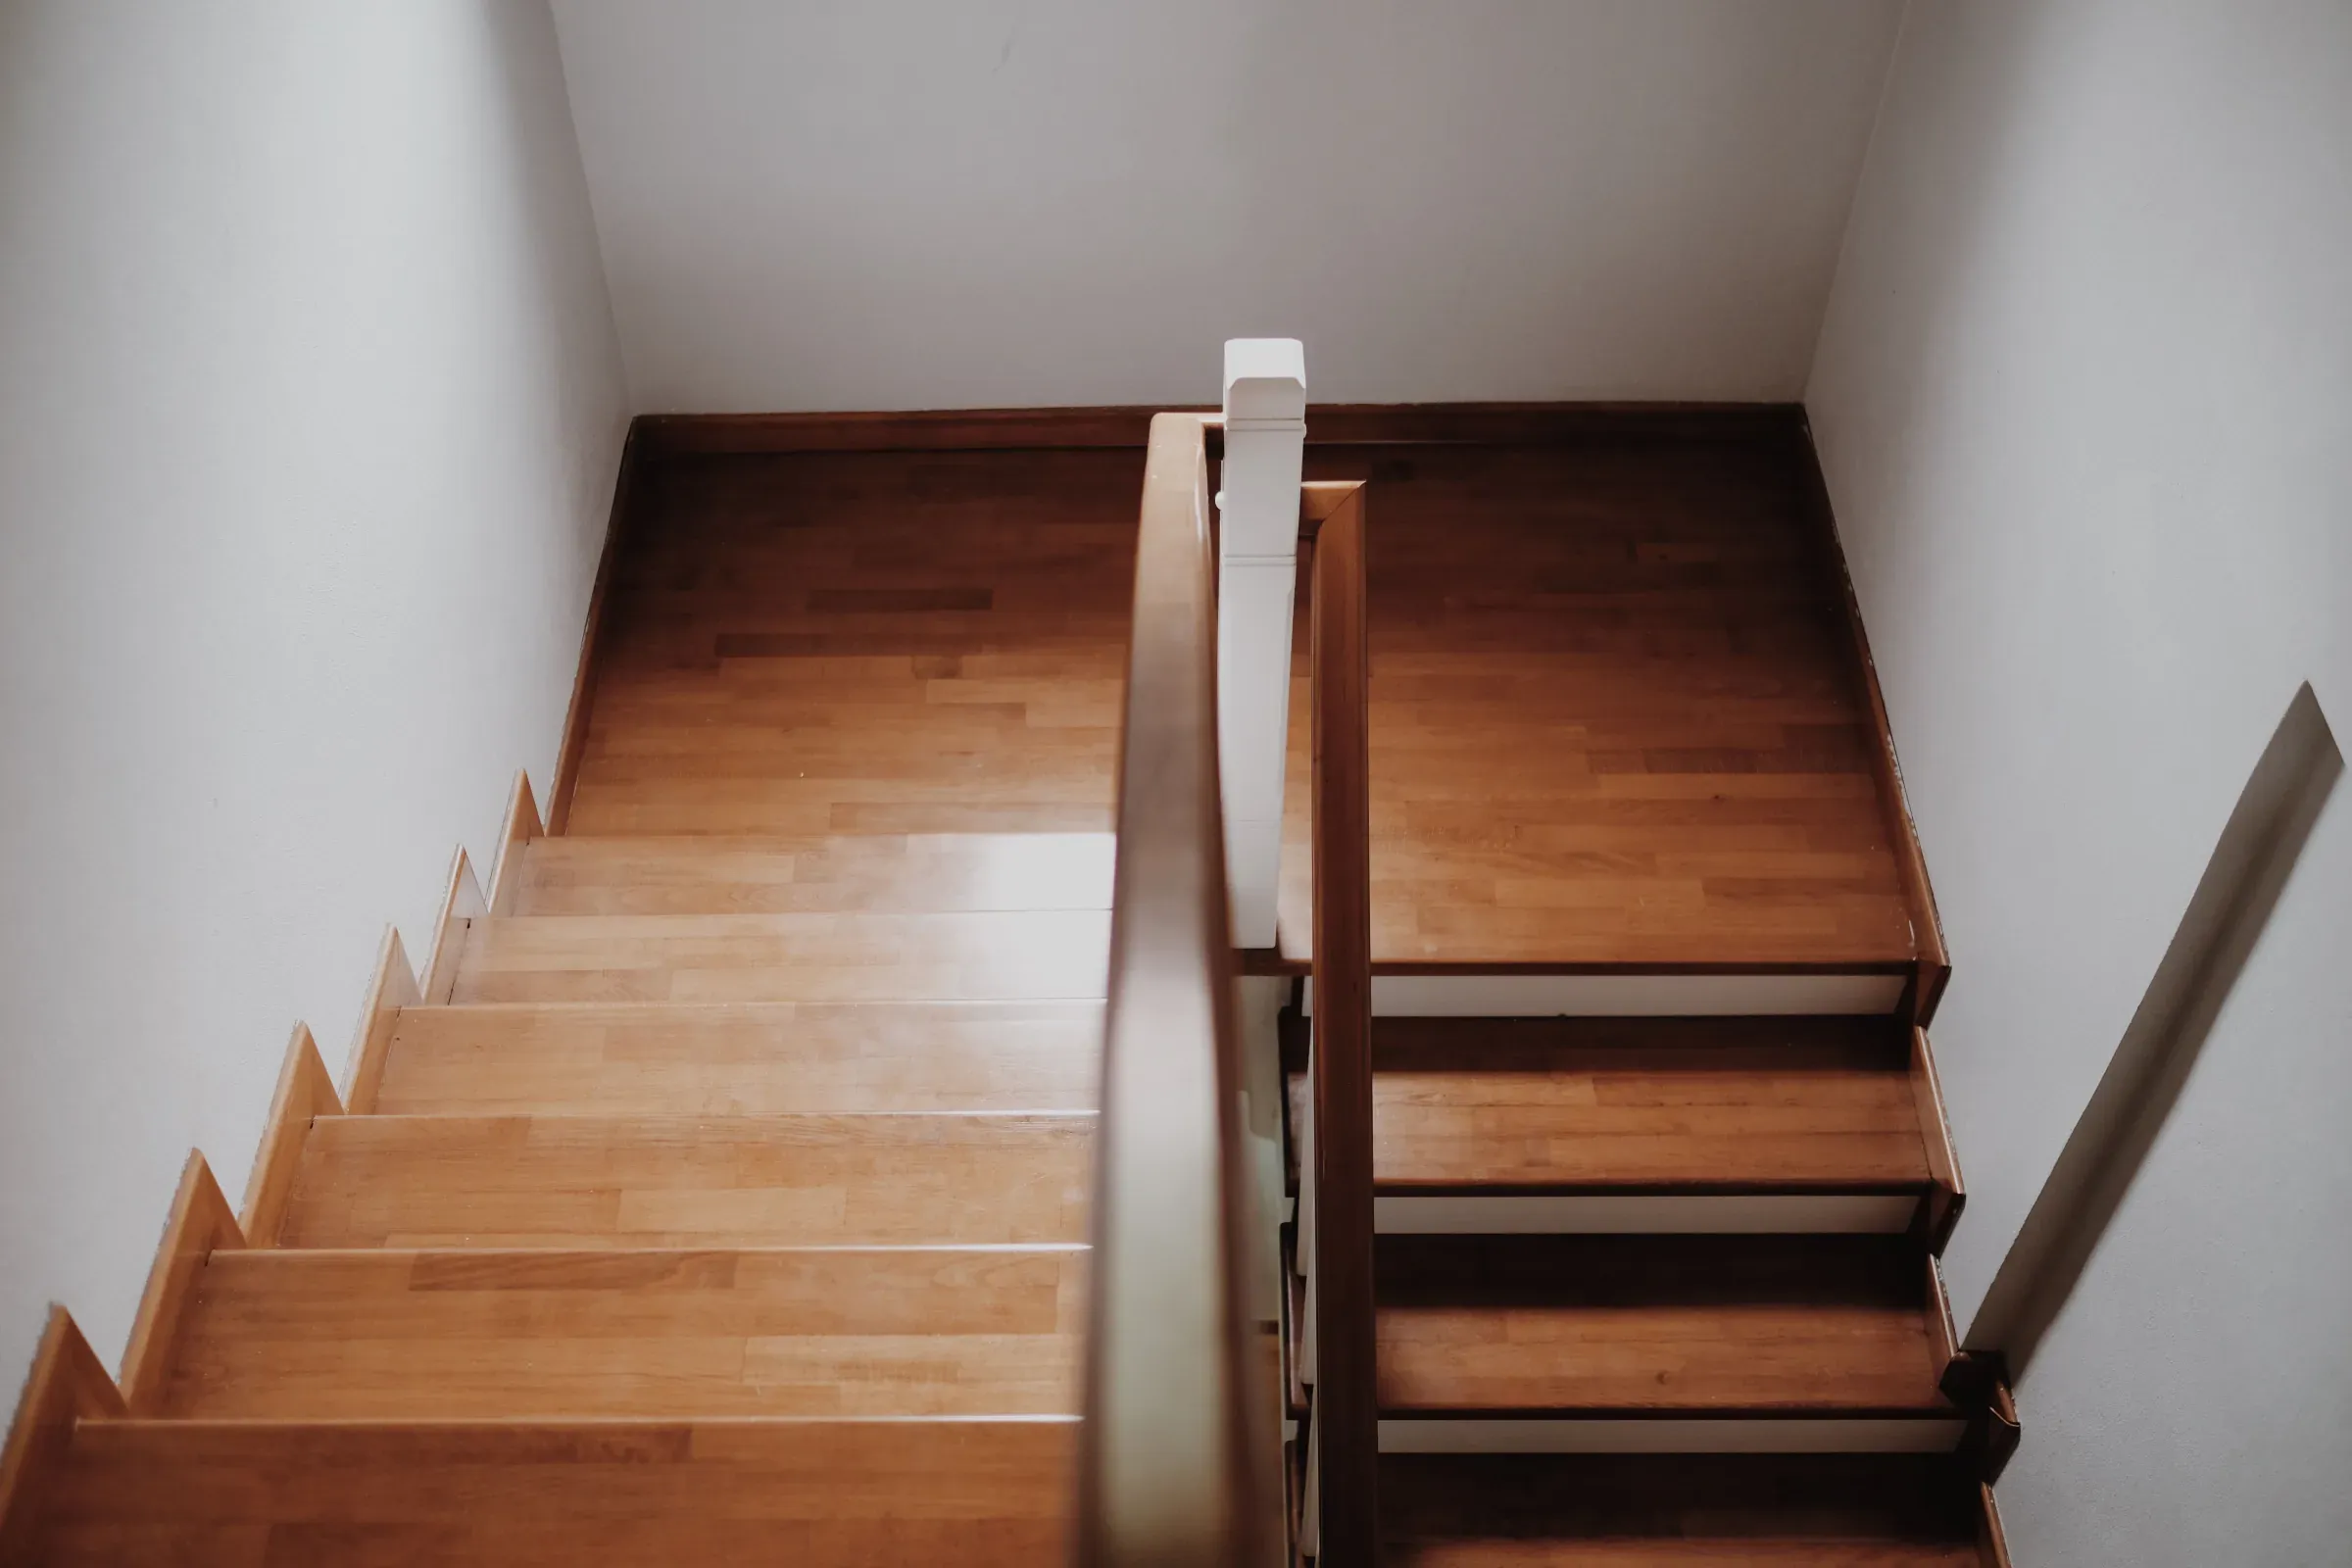
Hardwood floor refinishing GTA — if your floors are scratched, faded, or finished in a tone that no longer works with the rest of your home, professional refinishing restores them without replacement. Here is what the process involves, when it is the right scope, and why combining floor and stair refinishing in one project produces the best result.
When hardwood floor refinishing is the right scope
Hardwood floor refinishing is the right scope when the boards themselves are in good structural condition — flat, securely fastened, not cupped or significantly gapped — but the finish surface is worn, scratched, or the colour is outdated. It is not the right scope when the boards themselves have physical damage, significant height variation from uneven settling, or have been refinished so many times that insufficient thickness remains for another sand.
In GTA homes built between 1985 and 2010, the most common scenario is hardwood floors in good structural condition with a medium-dark stain — provincial, gunstock, or colonial maple — that was standard at construction and now reads as dated alongside updated kitchens, painted walls, and contemporary furnishings. Refinishing to a lighter, cooler tone is the most efficient way to update the overall feel of the main floor.
Dustless refinishing — what it means in practice
Hardwood floor refinishing generates significant dust. Professional dustless sanding systems connect the sander directly to a high-powered vacuum unit, capturing the vast majority of wood dust at the source rather than releasing it into the home.
This matters practically for several reasons. Fine wood dust that settles into a wet finish coat creates a gritty, uneven surface that is impossible to correct without sanding again. Dust that settles into kitchen cabinets, upholstery, and HVAC ducts creates cleanup work that extends well beyond the project itself. And for families with children, pets, or respiratory conditions, minimising airborne particulate during the project is a real consideration.
We use dustless sanding equipment on every hardwood floor refinishing project. Some dust is unavoidable — particularly at the edges, corners, and transitions where hand tools are used — but the difference versus traditional sanding is substantial.
The hardwood floor refinishing process
- Assessment and stain selection
- Inspect the hardwood floors to evaluate board thickness, finish condition, wood species, and grain direction.
- Test stain samples in your home under your actual lighting conditions.
- Approve the stain colour before refinishing begins.
- If matching a staircase, coordinate the floor and stair refinishing process to improve efficiency and ensure a consistent finish.
- Preparation
- Remove all furniture from the refinishing area before work begins.
- Protect baseboards, door frames, and surrounding surfaces.
- Cover HVAC vents to help prevent dust from entering the duct system.
- Set up dustless sanding equipment and confirm the sanding sequence.
- Sanding
- Sand the floor in multiple passes using progressively finer grits, typically 36 or 60, followed by 80, 100, and 120 grit.
- Sand with the grain during the final passes to eliminate visible cross-grain scratches.
- Hand-sand edges, corners, and other detailed areas using specialized edging equipment.
- Staining
- Apply stain evenly across the floor by hand.
- Work the stain into the wood grain and wipe it to achieve the desired colour depth.
- Maintain a wet edge throughout the application to prevent lap marks.
- Allow the stain to dry for approximately 4 to 6 hours before applying the finish coats, depending on the product and site conditions.
- Two to three finish coats
- Apply two to three coats of waterborne polyurethane.
- Lightly sand between coats to improve adhesion.
- Use three coats in high-traffic areas such as hallways, kitchen entrances, and staircase landings.
- Do not sand the final coat.
- Allow approximately 24 hours before light foot traffic and 7 to 14 days for a full cure before replacing furniture.
Combining floor and stair refinishing
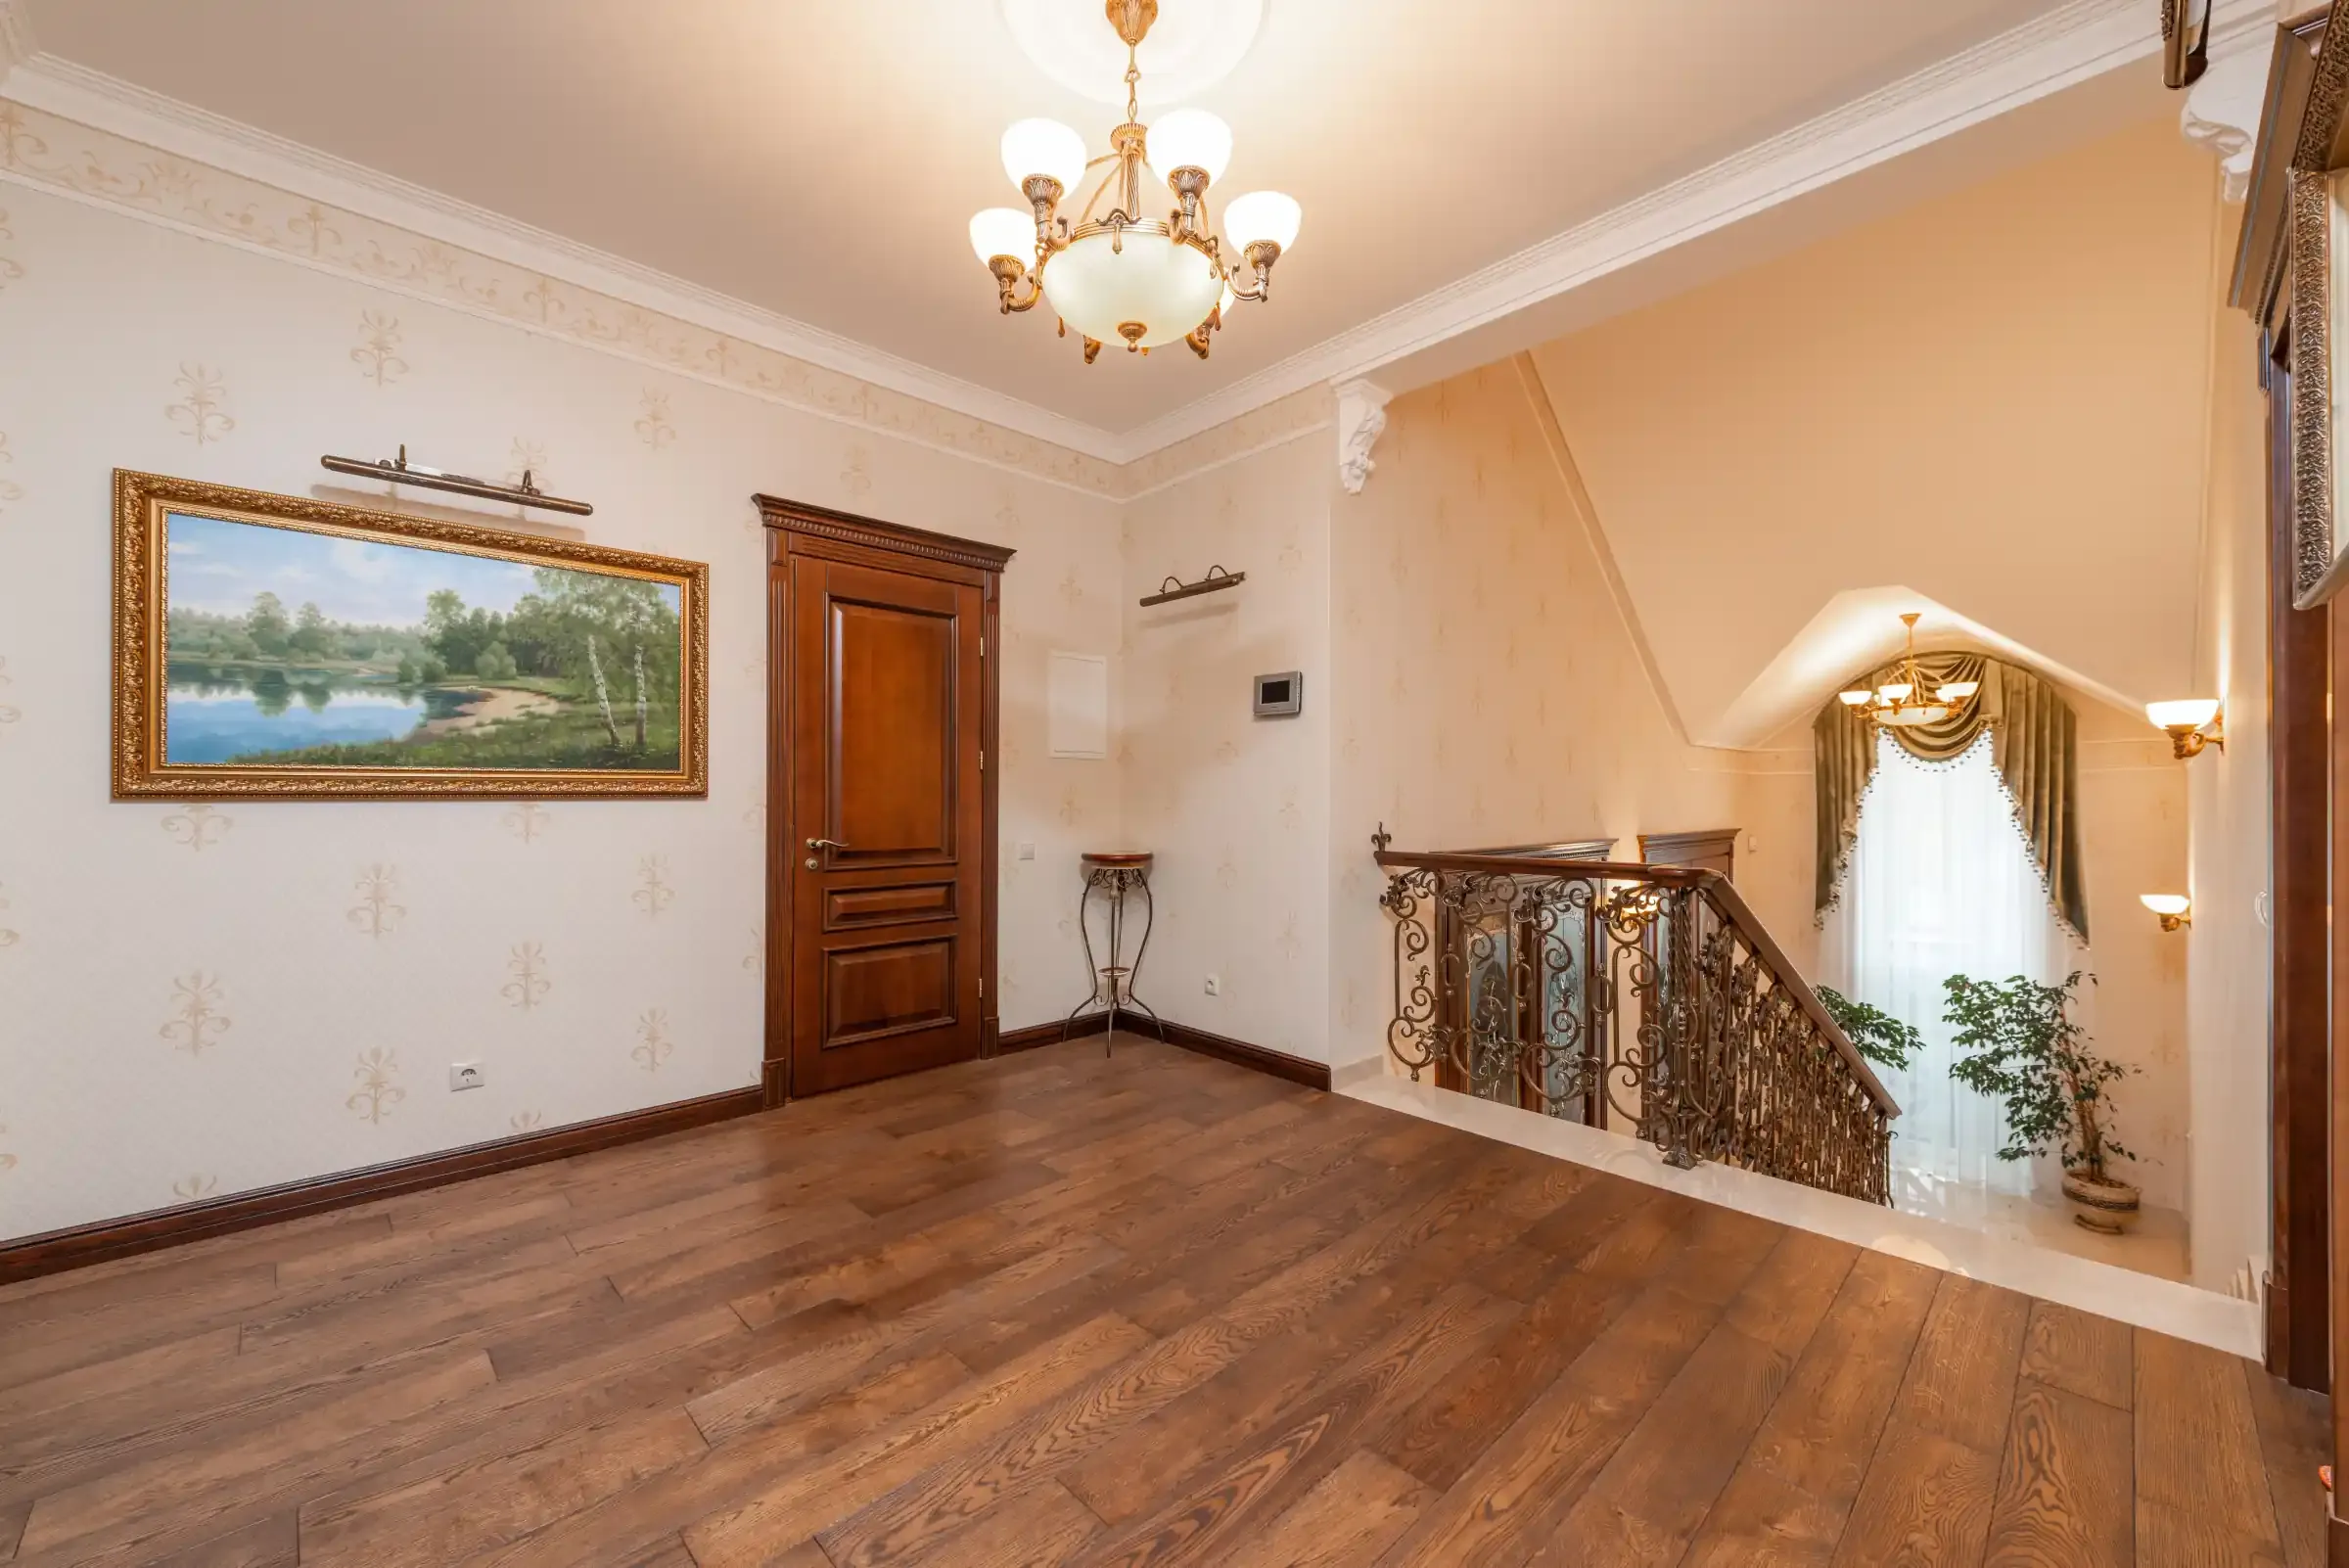
The most seamless result — and the most efficient project — is refinishing your hardwood floors and your staircase in the same visit. The stain colour is selected once, tested on both surfaces simultaneously, and applied consistently across the full space.
When floors and stairs are refinished separately — particularly by different contractors — stain matching becomes significantly harder. Wood aged differently, in different orientations, under different lighting, absorbs the same stain product differently. Testing together, in the same session, is the only reliable way to achieve a true match.
A combined floor and stair refinishing project also reduces household disruption to a single project period rather than two. The sanding and finish schedule can be sequenced so the staircase is accessible while the floor cures and vice versa, minimising the time any part of the home is inaccessible.
Stain colour direction in 2025
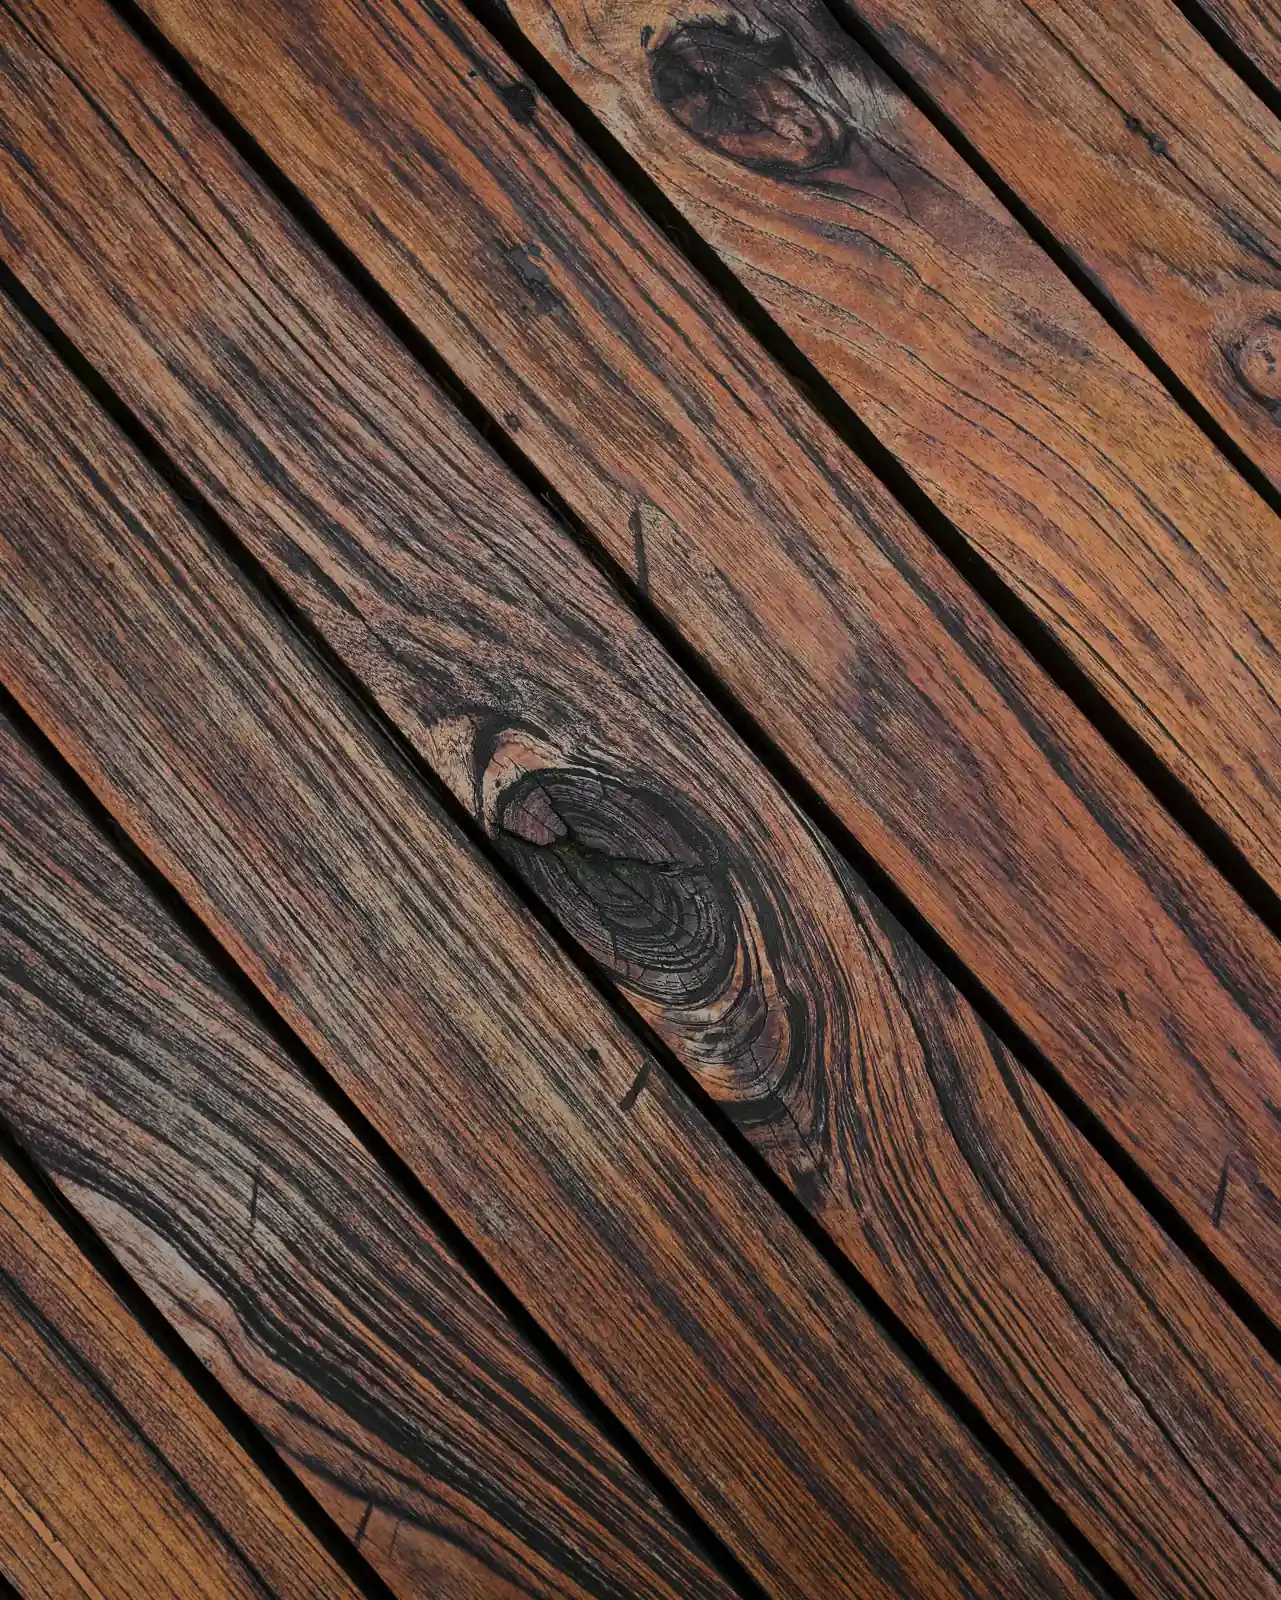
The shift in GTA floor stain preferences over the past four years has been pronounced. Medium-dark tones — provincial, gunstock, and colonial maple — that were dominant through the 2010s are being replaced by:
- Natural and light sand: Shows the wood's own colour and grain with minimal added pigment. Works especially well on white oak and maple. Currently the most requested new colour across the GTA.
- Greige and warm grey: A warm, slightly grey tone that bridges traditional and contemporary aesthetics. Pairs well with the grey-toned engineered floors installed in many GTA homes from 2016 onward where a partial floor update is being done.
- Hardwax oil finishes: An oil-based penetrating finish rather than a surface polyurethane. Produces a very natural, matte look and is easy to spot-repair without full refinishing. Growing in popularity in higher-end GTA renovations, particularly on white oak wide-plank floors.